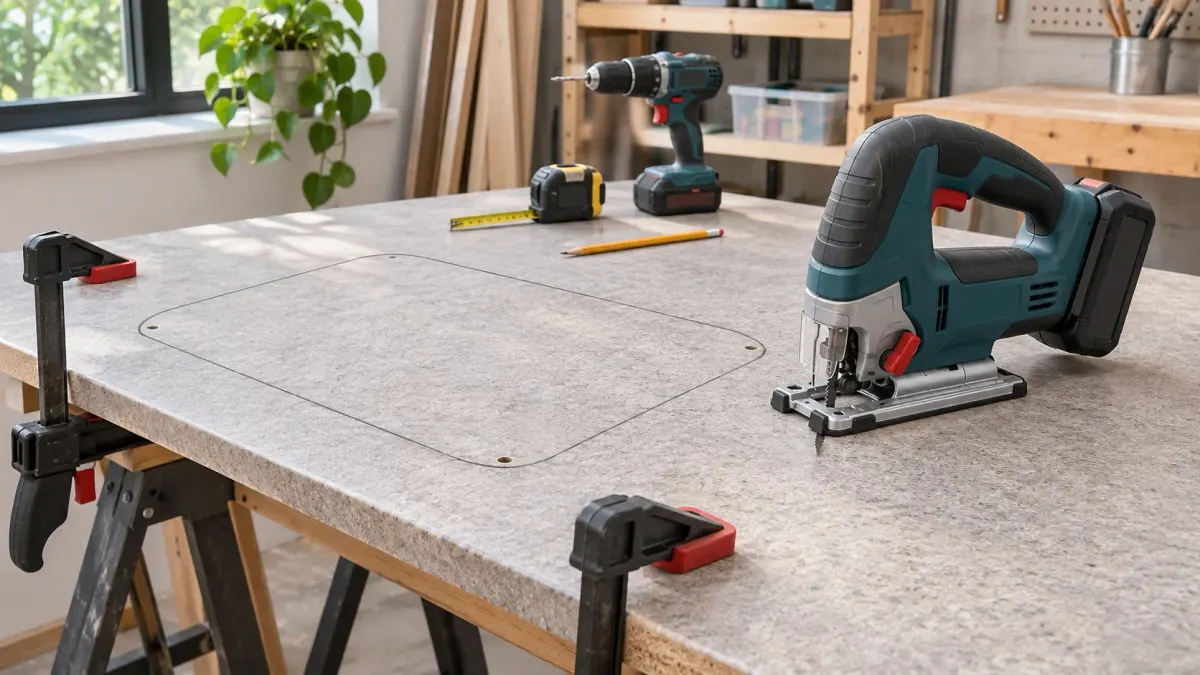
Cutting a sink or cooktop opening in a postform laminate countertop is high-stakes carpentry. A single chip on the laminate rim or a falling cutout slug that snaps the back rail can ruin a costly countertop in seconds.
With proper template layout, corner pilot holes, underside support cleats, and the right bi-metal blade, you can cut clean, chip-free countertop openings with total confidence.
Step 1: Trace the Manufacturer Template & Check Clearances
- Verify Under-Cabinet Clearance: Before marking anything, check beneath the cabinet. Ensure the planned sink cutout clears drawer slides, divider rails, corner braces, and plumbing connections.
- Align the Cutout Line: Do not trace the outer lip of the sink. Use the manufacturer’s inner cutout template. If no template is provided, trace the outer sink rim on the countertop with painter’s tape, measure the sink’s rim overhang (typically 3/8” to 1/2”), and draw a second line inside the perimeter.
- Tape the Cut Line: Apply 2-inch wide blue painter’s tape along the entire perimeter. Draw your cutting lines directly onto the tape. The tape protects the high-pressure laminate from baseplate friction scratches.
Step 2: Drill Corner Pilot Holes
- Using a 3/8” or 1/2” spade bit or brad-point drill bit, drill four clean holes inside the four corners of your layout box.
- Ensure the hole edges tangentially touch the cut line without crossing past it.
- These holes allow the jigsaw blade to drop into the board freely and provide smooth 90-degree turning transitions.
Step 3: Select the Right Countertop Blade
Standard countertops are 1-1/2 inches thick. You need a blade with at least 3 inches of usable cutting length so the blade tip never pops out of the kerf during reciprocating cycles.
- Top Pick: Bosch EXPERT T308BF (Bi-Metal): Features teeth ground in opposite directions to ensure 100% splinter-free cuts on both the top decorative laminate and the underside melamine backer.
- Alternative: Bosch T101BF (Bi-Metal Clean for Hardwood): Exceptionally durable against abrasive particleboard glue resins.
Step 4: Cut with Underside Cleat Support
- Cut the Front and Sides First: Insert the jigsaw blade into a corner pilot hole. Run the saw at high stroke speed (Setting 5) with zero orbital action. Cut the front rail and side cuts first.
- Support the Heavy Core Slug: Before starting the final back cut, bridge a 1x4 wood scrap across the cutout and screw it directly into the waste slug. When the blade reaches the end of the final cut, the scrap board holds the 25-pound core in place, preventing it from crashing downward and snapping the slender rear laminate bridge.
- Seal Exposed Core Edges: Bare particleboard swells rapidly if exposed to moisture. Coat the entire raw cut edge with 100% waterproof silicone sealant, PVA wood glue, or outdoor varnish before dropping the sink into place.