Required Workshop Tools and Materials
- Variable-Speed Jigsaw: 5.0 to 6.5 Amp motor minimum to power squarely through 1-1/2” (38 mm) dense particleboard cores.
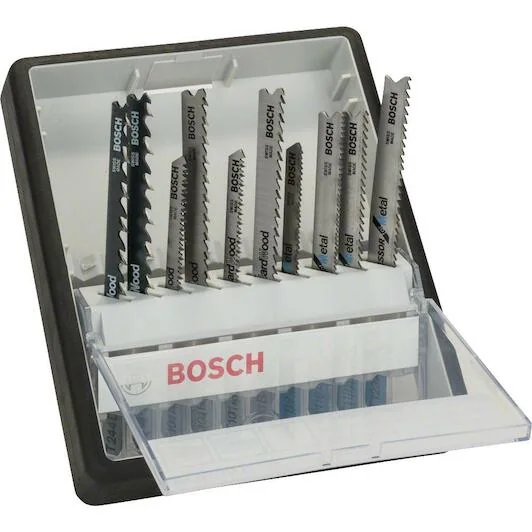
- Reverse Down-Cut Blades: Bosch T 101 BR Clean for Wood or T 101 BIF Special for Laminate.
- Drill with 1/2” (12 mm) Spade or Brad-Point Bit: To create clean internal corner starter pockets.
- 2-Inch Wide Painter’s Masking Tape: For pencil markings and preventing scratches from the metal shoe.
- Neutral Sanitary Silicone or D4 Polyurethane Adhesive: Essential moisture-proofing for raw particleboard edges.
- Scrap Wood Battens and Short Wood Screws: To support the center waste slug during the final cut pass.
Step 1: Precise Scribing and Offset Calculation
- Lay the countertop finished face up on sturdy sawhorses, ensuring continuous level support.
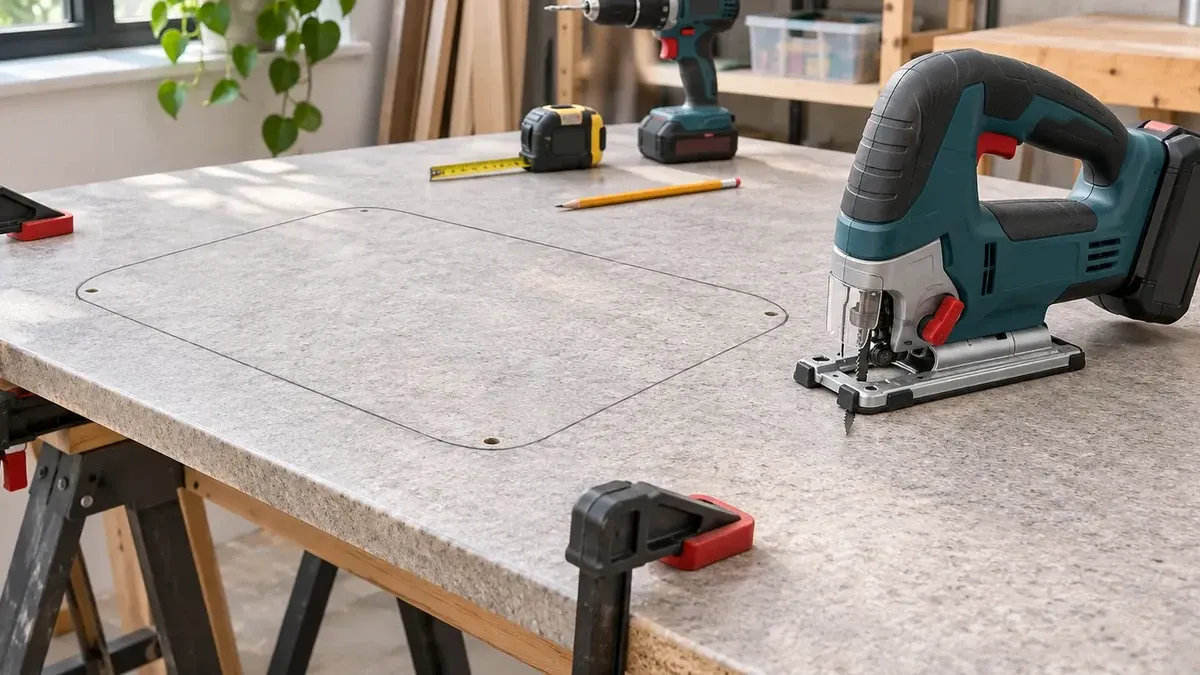
- Position the sink upside down in its exact installed position and trace its outer perimeter with a pencil over wide painter’s tape.
- Remove the sink basin. Using a steel ruler, draw a second cut line parallel and offset 3/8” to 1/2” (10 to 12 mm) inward. This inner perimeter represents your true cutting path; cutting along the outer line will cause the sink to drop through the hole.
Step 2: Drilling Corner Relief Entry Holes
- Chuck a 1/2” (12 mm) spade or brad point wood bit into your drill driver.
- Drill one hole inside each of the four corners, tangent to the inside waste side of the inner cut line.
- Hold the drill at a true 90-degree vertical angle so the jigsaw blade easily drops through the pocket from above.
Step 3: Fastening Under-Counter Anti-Drop Support Cleats
A classic beginner error is cutting all four edges consecutively: as you reach the last 2 inches of the fourth side, the heavy 25 lb center slug breaks free under gravity, ripping away a huge chunk of finished laminate face.
- The Trade Solution: After completing the second cut side, crawl beneath the bench and screw two scrap wooden battens across the kerf into the waste slug and adjacent underside with short screws. These cleats suspend the core securely in place until you are ready to lift it out by hand.
Step 4: Executing the Jigsaw Cuts
- Configure your jigsaw: orbital pendulum setting strictly at 0 and motor speed set to medium-high.
- Insert the reverse blade into a corner pilot hole, engage tool power before touching the kerf, and feed smoothly along your inner marked pencil line.
- Cut the two shorter side edges first, followed by the longer rear wall cut, and conclude with the front accessible edge.
| Worktop Material | Thickness | Recommended Blade | Orbital Action | Motor Speed |
|---|---|---|---|---|
| Standard Postform Laminate | 1-1/8” (28 mm) | Bosch T 101 BR | Setting 0 | Speed 4-5 |
| Heavy Commercial Laminate | 1-1/2” (38 mm) | Bosch T 101 BR / T 101 BIF | Setting 0 | Speed 3-4 |
| Solid Surface / Compact HPL | 1/2” (12 mm) | Bosch T 108 BHM (Carbide) | Setting 0 | Speed 2-3 |
View Bosch T101BR Countertop Blades on Amazon →
Step 5: Mandatory Moisture-Proof Core Sealing
The raw composite core inside a countertop behaves like a dry sponge: any plumbing moisture escaping past the perimeter gasket will cause particleboard to swell and buckle within weeks.
- Apply a thick bead of neutral-cure silicone or waterproof polyurethane adhesive along the entire freshly cut perimeter edge.
- Smooth and butter the sealant thoroughly with a putty knife to seal every pore in the wood fiber before dropping in the sink basin.